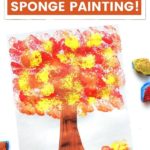
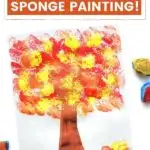
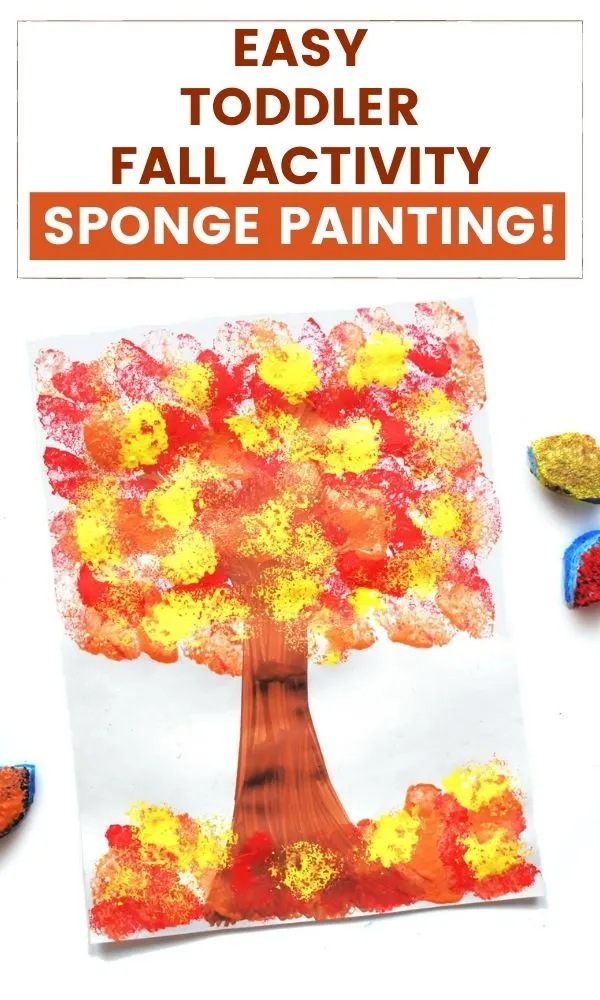
Fall Sponge Painting craft and sensory activity for toddlers - the perfect way to introduce the concept of seasons to little ones and have fun with finger painting while getting all the benefits of messy play and sensory activities!
Keep reading for LOTS of tips for how to turn this into a learning activity for toddlers and preschoolers!

Jump to:
- Fall sensory activity - sponge painting
- Step 1: Cut out the sponge leaves
- Step 2: Paint the tree trunk
- Step 3: Get stamping!
- Tips for sensory aversion
- Turn this simple activity into a learning opportunity
- Other easy sensory activities and toddler activities you will love:
- Fall Sponge Painting - Easy Sensory Activity for Toddlers!
I'm all about the super quick and easy sensory activities that are fun, just slightly messy, and can be done in a few minutes or be stretched out into longer learning activities.
See my Valentine's Day Sponge Painting, Easy Christmas Sensory Craft, Candle Jar Decorating, and more! And make sure to check out these 15 Fall Sensory Activities!
This easy Fall craft painting activity for is perfect for toddlers and preschool kids, but can even be adapted for younger babies if you use taste-safe homemade finger paints made from cornstarch.
And honestly, it can be a little therapeutic for us adults to do some crafting. 🙂
Ready to get started? Let's do it!

Fall sensory activity - sponge painting
You will need:
- A clean kitchen sponge
- Scissors
- Finger paints (red, orange, yellow, brown, or use any colors you like!)
- Paint brushes
- Paper or canvas
- A sharpie or other marker
In addition, you'll need:
- Something to hold the paint - a paper plate of some tupperware works fine!
- Towels or baby wipes for cleanup - have these on hand in case your little one does not like getting messy or sticky!
- Optional: Clothes pins (use these to grab the sponges and stamp holding the clothespin if your child is not OK with touching messy wet sponges!)
If you want to take it to the next level, grab some:
- Orange glitter, sequins, or glitter glue
- Small leaves you've collected from outside (see my Outdoor Treasure Hunt!)
- Pumpkin seeds, Fall-themed stickers, or any other Fall-themed "accessories" you might want to glue onto your masterpiece!
The rest is pretty self explanatory.
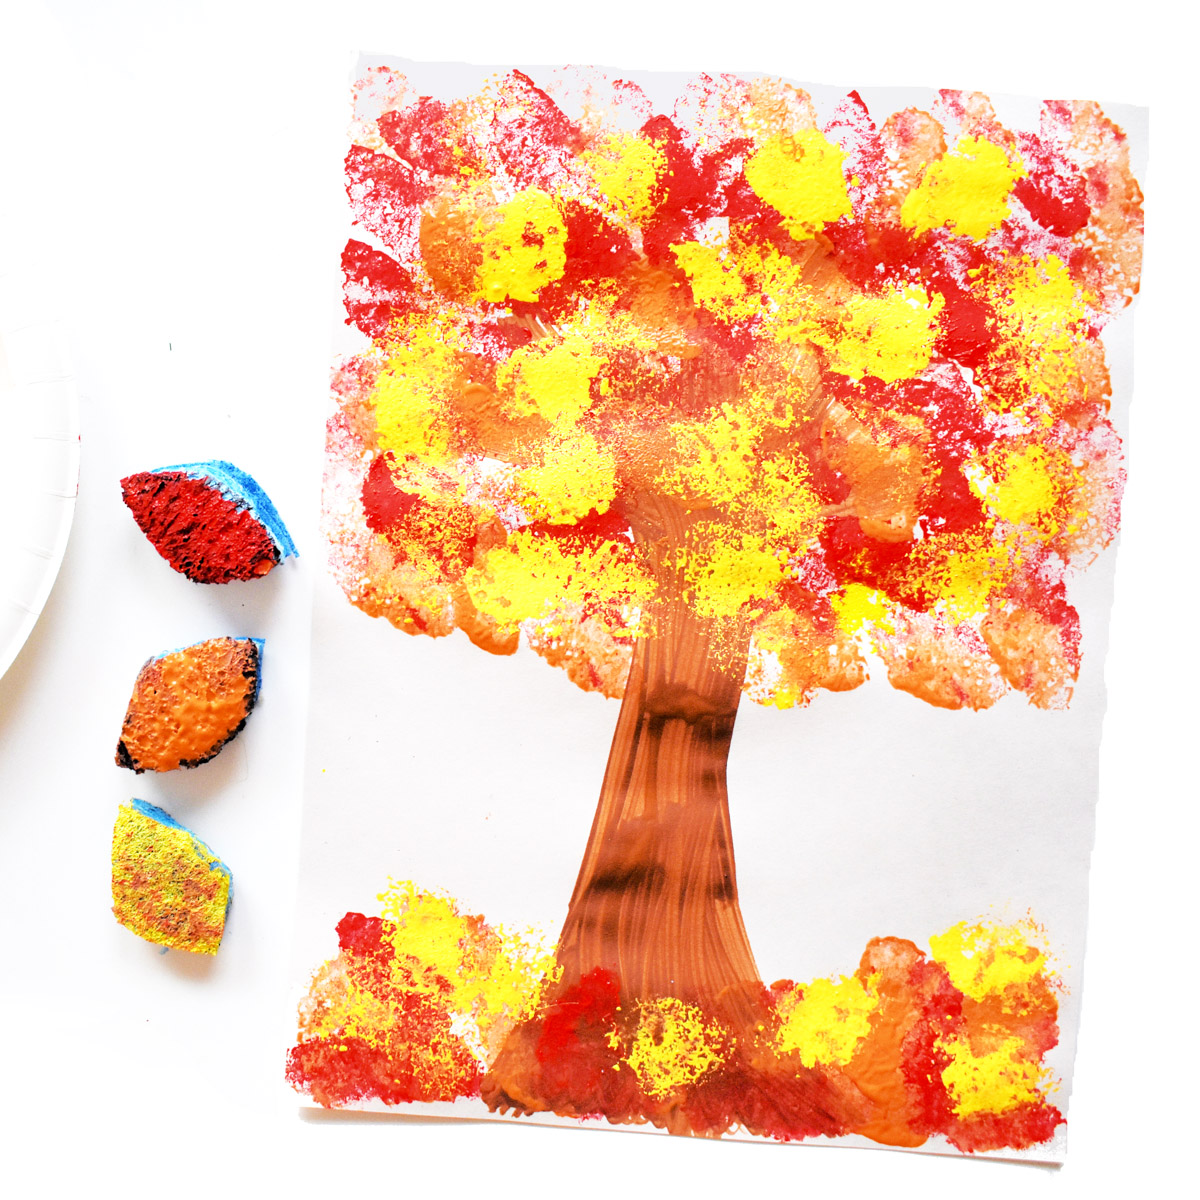
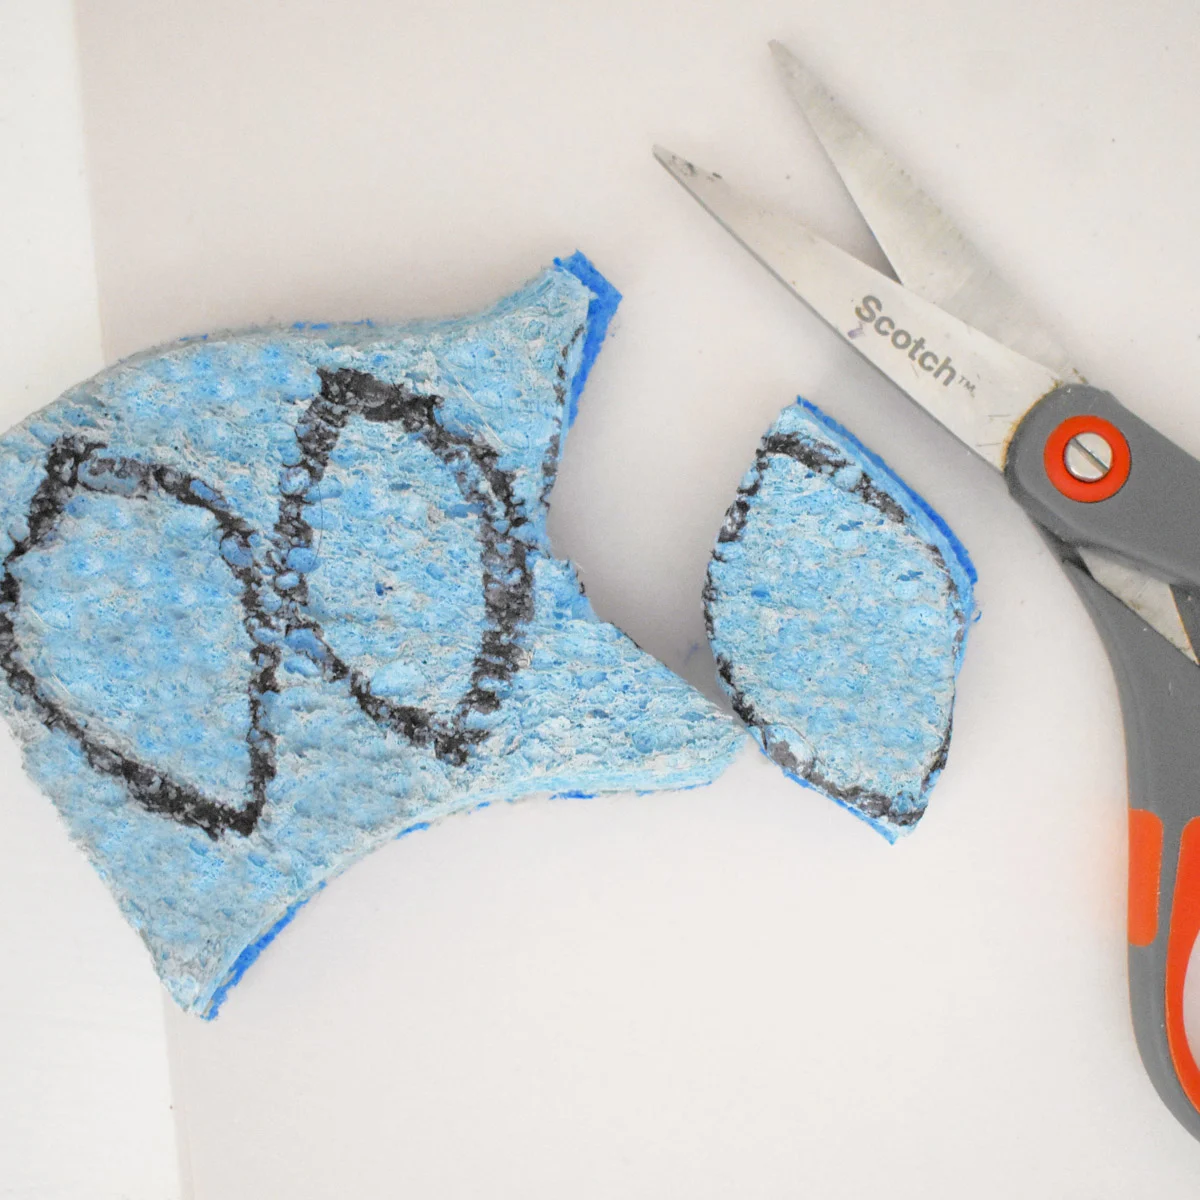
Step 1: Cut out the sponge leaves
Use a sharpie or another marker to draw "leaves" on a sponge. Cut out the leaves. Do this part by yourself - sponges are too hard for little toddler hands to cut even if they are good with scissors for their age!

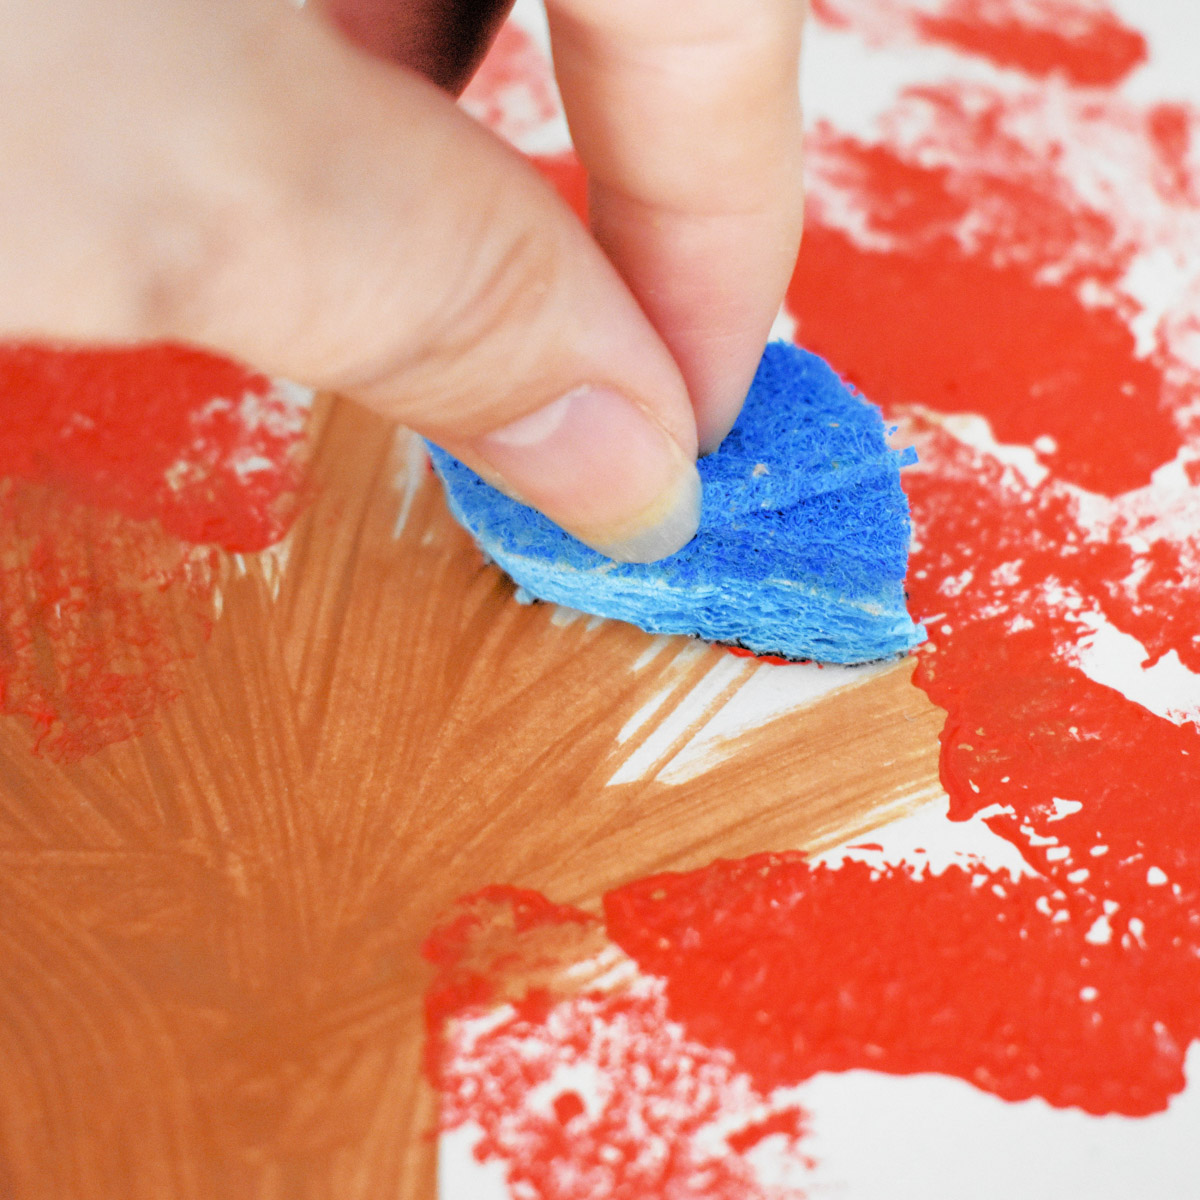
Step 2: Paint the tree trunk
I recommend pre-painting the tree trunk for your little one and letting it dry, this way your child can clearly see a tree and might actually be able to guess what he or she needs to do next!
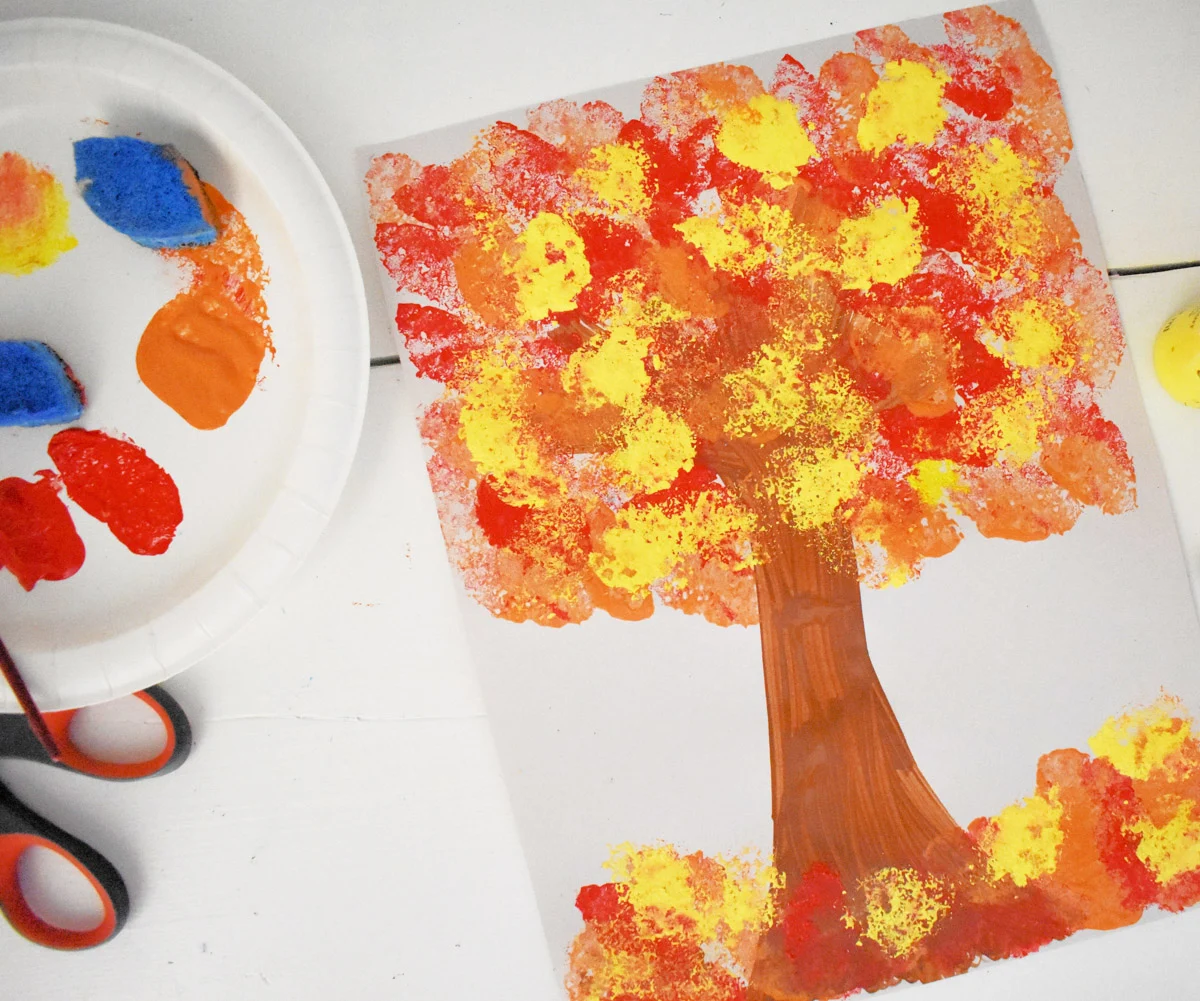
Step 3: Get stamping!
Stamp away! Let your child get creative and don't overcorrect them if they make a crazy tree that makes no sense. (See below for more tips for how to turn this into a learning activity!)

Tips for sensory aversion
Some children have a hard time with messy activities such as this one, and that's OK! My son is one of those. Here are some tips for successful sensory play:
- Never pressure your child, keep the activity fun and light for them
- Making things silly is usually a safe bet for getting my son to forget that he is uncomfortable - I sing songs as we paint, and I encourage him to make silly sounds as he plops down a sponge onto the paper
- Have baby wipes, damp paper towels or towels on hand for quick cleanup if they get overwhelmed by the mess on their hands
- Use clothespins to create a sort of "holder" for the messy sponges, so your child doesn't have to get his or her hands messy
- If your child overcomes a sensory challenge, proudly display their art and remind them of how brave they were and how great they did!
Turn this simple activity into a learning opportunity
Depending on how much time (and energy) you have, you can turn this Fall sensory activity into an amazing learning opportunity for little ones of any age!
- Introduce the idea of seasons changing. Then do a similar activity with green leaves for spring/summer (add some colorful flowers for spring to differentiate it from summer), and snow-covered leaves (blue and white paint) for the winter
- Work on patterns, making a color patterns
- Show your child that mixing colors creates a new color (red + yellow = orange leaves, red + green = brown for the tree trunk)
- Count as you stamp the leaves
- Learn shapes - cut out different shapes for the leaves and
- Encourage their creativity by letting them go to down decorating
- Talk about what animals live in and around the tree (squirrels, chipmunks, owls, birds, etc.)
- Talk about how big trees are and compare them to other things, and make it silly (Would a tree fit in a house? NOOOO! What's bigger, a tree or a squirrel?)
Other easy sensory activities and toddler activities you will love:
- 52 Weeks of Sensory
- Valentine's Day Sponge Painting
- Easy Christmas Sensory Activity (free printable!)
- Candle Decorating Craft (makes a great homemade gift from your child!)
- Benefits of Cooking with Toddlers
- Making Jello with Fresh Fruit
- Fun Halloween Donut decorating (adapt this to any holiday!)
Did you enjoy this activity? If you end up doing this craft, please take a picture and tag @highchairchronicles on Facebook or Instagram! I LOVE seeing your creations!
And don't forget to save this for later on Pinterest!

Fall Sponge Painting - Easy Sensory Activity for Toddlers!


Fall Sponge Painting craft and sensory activity for toddlers - the perfect way to introduce the concept of seasons to little ones and have fun with finger painting while getting all the benefits of messy play and sensory activities!
Materials
- Finger paints
- Paper or canvas
- Sharpie or other marker
Tools
- Clean kitchen sponge
- Scissors
- Paint brushes
- Paper plate or a container to told the paint
- See notes for other helpful tools and materials!
Instructions
- Use a sharpie or another marker to draw "leaves" on a sponge. Cut out the leaves. Cut out the sponge leaves (Do this for your child)
- Paint the tree trunk brown (Do this together or do this in advance)
- Get stamping! Dip the sponge "leaves" into paint and stamp away.
- Add any optional decorations, such as glitter, sequins, small leaves, stickers, etc.
Notes
- Towels or baby wipes for cleanup – have these on hand in case your little one does not like getting messy or sticky!
- Optional: Clothes pins (use these to grab the sponges and stamp holding the clothespin if your child is not OK with touching messy wet sponges!)
- Optional: Orange glitter, sequins, or glitter glue, small leaves you’ve collected from outside, pumpkin seeds, Fall-themed stickers, or any other "accessories" to glue on!
Recommended Products
As an Amazon Associate and member of other affiliate programs, I earn from qualifying purchases.